

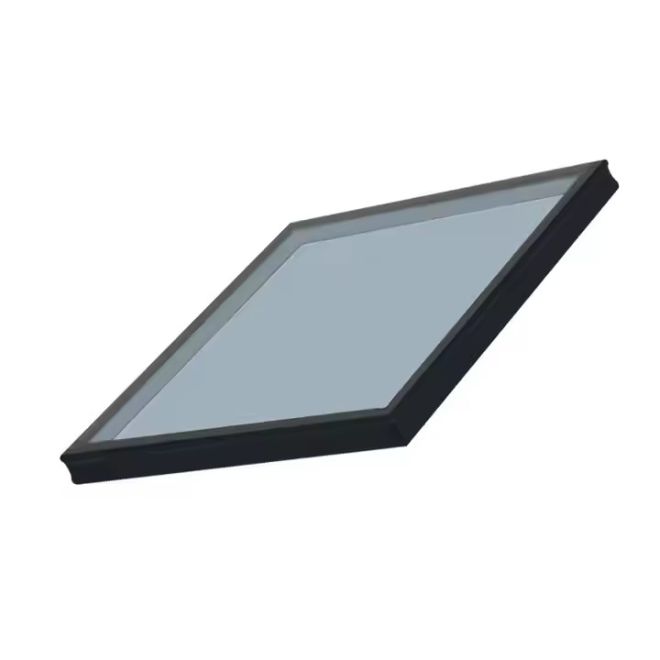
Tired of staring at plain glass walls that scream “office boredom” instead of “wow factor”? Custom printed glass sounds cool, but the whole design-to-panel process can feel like trying to decode alien blueprints.
Relax—this guide breaks every step down, from design file prep to durable, UV-stable printed panels, so you get stunning results without guesswork. Industry standards like Cardinal Glass’s architectural glass guidelines back up the process for safe, long-lasting installations.
🔹 From Digital Artwork to High-Resolution Glass Printing Layout
Custom printed glass starts with a clean digital file. Designers prepare artwork for exact size, bleed, and resolution so every line and color prints sharply.
Technicians then convert the file into print layers, align it with glass sizes, and simulate final effects such as opacity, gradients, and background colors.
1. Preparing the Design File
Designers use vector or high-resolution raster files, set to final dimensions with safe margins, bleed, and labeled layers for color, white ink, and frosted effects.
- Resolution: usually 150–300 dpi at full size
- Color mode: CMYK or RGB, based on printer profile
- File types: PDF, AI, TIFF, or PSD
2. Checking Scale, Proportion, and Panels
Large walls need panel splits. The layout team divides the art into panels while keeping key visual elements aligned and avoiding cuts through logos or faces.
| Panel Size | Use Case |
|---|---|
| 600–900 mm | Interior partitions |
| 1000–1500 mm | Shopfronts |
| 1500–2500 mm | Facade and curtain wall |
3. Creating Print Layers and White Ink Masks
Technicians add white ink masks to control opacity, backlighting, and privacy. Separate layers also define spot colors and safety marks for holes and cut-outs.
- Solid white layer for vivid colors
- Gradient white for soft transitions
- Clear zones for see-through vision
4. Final Prepress Review and Approval
The team outputs proofs or scaled samples and checks colors, text, and alignment with hardware. Only after client sign-off does glass production start.
🔹 Choosing Glass Types, Thickness, and Suitable Printing Methods
Choosing the right glass and printing method affects strength, safety, and image quality. BLUE-SKY helps match glass type, thickness, and coating to each project.
For facades, you often combine print with performance glass such as low‑E or insulated units to gain energy savings and long service life.
1. Comparing Glass Types for Custom Printing
You can print on float, tempered, heat‑strengthened, laminated, or insulated glass, depending on location, load, safety code, and thermal performance needs.
| Glass Type | Main Benefit |
|---|---|
| Tempered | High impact resistance, safety break pattern |
| Laminated | Safety, sound control, security |
| Insulated (IGU) | Thermal and acoustic performance |
2. Selecting Thickness and Panel Build-Up
Thickness depends on size, height, wind load, and hardware. Exterior units often combine printed glass within insulated or laminated make‑ups for added strength.
- 6–8 mm: interior partitions and doors
- 10–12 mm: balustrades, canopies (with lamination)
- IGUs: 24–40 mm overall for facades
3. Matching Printing Methods to Project Goals
Ceramic frit printing fuses ink into glass during tempering, while UV digital printing cures on the surface. Each method suits different budgets and durability needs.
4. Combining Printed Glass with Performance IGUs
Many projects pair printed lites with high‑performance units such as Tempered Laminated Insulated Glass Factory Triple layer Low-e Insulating Glazing Unit, Low-E Double & Triple Glazing Insulating Glass, or Building Curtain Wall Double Glazing Low E Tempered Hollow Glass Price Insulated Glass.
🔹 Color Management, Opacity Control, and Image Sharpness on Glass
Printing on glass needs accurate color control, planned opacity, and sharp edges. BLUE-SKY uses profiling and test samples to keep results predictable and stable.
Designers, printers, and clients review samples together so the final facade or partition looks as expected in real light.
1. Managing Color on Transparent and Low-E Glass
Glass tint and coatings influence color. Printers use calibrated profiles and light booths to match brand colors and repeat orders reliably over years.
- Account for glass base tint
- Adjust for low‑E reflection
- Use standard lighting when checking
2. Setting Opacity for Privacy and Backlighting
White ink density and dot patterns control privacy and light. Designers can choose full block, semi‑frosted, or gradient transitions for elegant screens.
3. Keeping Edges and Details Sharp
Proper resolution, line thickness, and registration keep small text, patterns, and QR codes readable after tempering, lamination, and installation movement.
🔹 Curing, Tempering, and Laminating Printed Glass for Durability
Once ink is on the glass, it must resist weather, cleaning, and impact. Curing, tempering, and lamination turn printed glass into a long‑lasting product.
BLUE-SKY controls furnace curves and lamination cycles to protect colors while still achieving the required safety and strength levels.
1. Ink Curing and Adhesion
UV or heat curing locks ink to the glass. Adhesion tests check that prints resist scratching, condensation, and daily cleaning with mild chemicals.
2. Tempering Without Distorting the Print
During tempering, careful heat and quench control prevent color shift and distortion. The process also increases strength and safety performance.
- Controlled furnace temperature
- Balanced air quench
- Regular roller wave checks
3. Laminating for Safety and Sound Control
Printed lites often sit inside laminated make‑ups. Interlayers add impact resistance, acoustic comfort, UV filtering, and protection for the printed surface.
🔹 Quality Checks, Packaging, and Installation Tips from BLUE-SKY
After processing, each panel passes visual and dimensional checks. Correct packaging and careful installation keep the artwork safe until the building opens.
BLUE-SKY supports installers with clear labels, orientation marks, and handling notes so panels arrive and fit exactly as the design intended.
1. Visual, Dimensional, and Safety Checks
Inspectors check size, hole positions, edge work, and print quality under controlled light. Defects such as pinholes or banding are rejected or reworked.
2. Smart Packaging and Transport
Panels stand on padded racks, separated by corks or films. Labels show project, floor, and position so installers can work floor by floor with confidence.
- Edge guards for exposed corners
- Shrink wrap against dust and moisture
- Clear “this side out” marks
3. Practical Installation and Maintenance Tips
Installers avoid metal‑to‑glass contact and use clean gaskets. Owners should use soft cloths and neutral cleaners to keep prints bright for many years.
Conclusion
Custom printed glass turns digital artwork into durable building skin and interior features. Every stage, from file setup to lamination, influences safety, color, and clarity.
By selecting the right glass type, print method, and processing route, BLUE-SKY helps architects and owners gain both visual impact and long‑term performance.
Frequently Asked Questions about custom printed glass
1. How long does custom printed glass usually last?
With ceramic inks, proper tempering, and correct installation, printed glass can last decades. UV‑cured prints also perform well indoors and in many covered exterior areas.
2. Can I match my brand colors exactly on glass?
Exact matches are possible in most cases. The team creates color samples on the real glass type and coating, then refines ink recipes until you approve the result.
3. Is custom printed glass safe for exterior facades?
Yes. Printed glass for facades typically uses tempered or laminated safety glass, often inside insulated units, to meet wind load, impact, and building code requirements.
4. What file formats do you accept for artwork?
Preferred formats are PDF, AI, TIFF, and PSD. Provide files at final size, with outlined fonts and clear layer names for colors, white ink, and cut‑outs.
5. Can I see a sample before full production?
Yes. BLUE-SKY can produce small mock‑ups or full‑size sample panels. These let you confirm color, opacity, and detail before approving the entire project run.